Traffic Management
In this section we will show how to use Amazon VPC Lattice for advanced traffic management with weighted routing for blue/green and canary-style deployments.
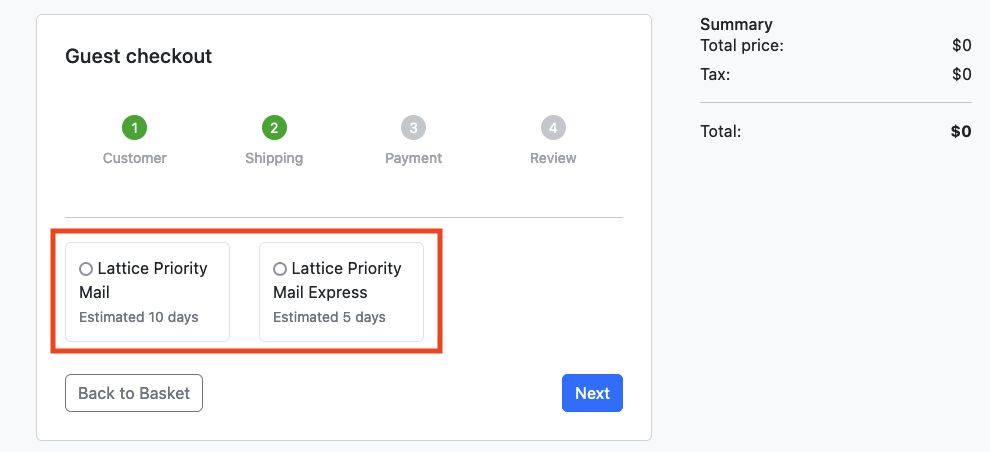
Let's deploy a modified version of the checkout microservice with an added prefix "Lattice" in the shipping options. Let's deploy this new version in a new namespace (checkoutv2) using Kustomize.
The checkoutv2 namespace now contains a second version of the application, while using the same redis instance in the checkout namespace.
NAME READY STATUS RESTARTS AGE
checkout-854cd7cd66-s2blp 1/1 Running 0 26s
Set up Lattice Service Network
The following YAML will create a Kubernetes gateway resource which is associated with a VPC Lattice Service Network.
apiVersion: gateway.networking.k8s.io/v1beta1
kind: Gateway
metadata:
  name: ${EKS_CLUSTER_NAME}
  namespace: checkout
  annotations:
    application-networking.k8s.aws/lattice-vpc-association: "true"
spec:
  gatewayClassName: amazon-vpc-lattice
  listeners:
  - name: http
    protocol: HTTP
    port: 80
Apply it with the following command:
Verify that eks-workshop gateway is created:
NAME CLASS ADDRESS PROGRAMMED AGE
eks-workshop amazon-vpc-lattice True 29s
Once the gateway is created, find the VPC Lattice service network. Wait until the status is Reconciled (this could take about five minutes).
apiVersion: gateway.networking.k8s.io/v1beta1
kind: Gateway
status:
conditions:
message: 'aws-gateway-arn: arn:aws:vpc-lattice:us-west-2:1234567890:servicenetwork/sn-03015ffef38fdc005'
reason: Programmed
status: "True"
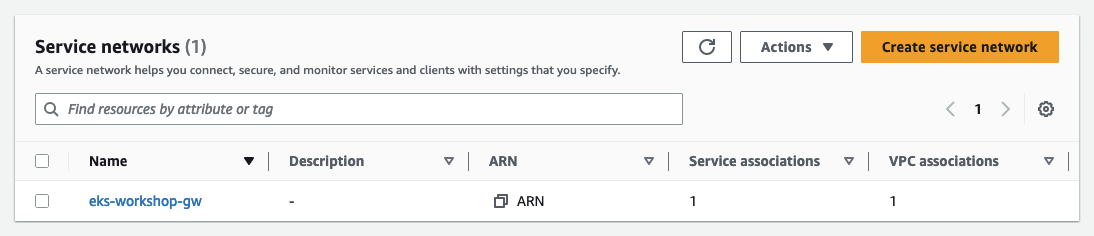
Now you can see the associated Service Network created in the VPC console under the Lattice resources in the AWS console.
Create Routes to targets
Let's demonstrate how weighted routing works by creating HTTPRoutes.
Create the Kubernetes HTTPRoute route that distributes 75% traffic to checkoutv2 and remaining 25% traffic to checkout:
apiVersion: gateway.networking.k8s.io/v1beta1
kind: HTTPRoute
metadata:
  name: checkoutroute
  namespace: checkout
spec:
  parentRefs:
  - name: ${EKS_CLUSTER_NAME}
    sectionName: http
  rules:
  - backendRefs:
    - name: checkout
      namespace: checkout
      kind: Service
      port: 80
      weight: 25
    - name: checkout
      namespace: checkoutv2
      kind: Service
      port: 80
      weight: 75
This step may take 2-3 minutes, run the following command to wait for it to completed:
Once completed you will find the HTTPRoute's DNS name from HTTPRoute status (highlighted here on the message line):
Name: checkoutroute
Namespace: checkout
Labels: <none>
Annotations: application-networking.k8s.aws/lattice-assigned-domain-name:
checkoutroute-checkout-0d8e3f4604a069e36.7d67968.vpc-lattice-svcs.us-east-2.on.aws
API Version: gateway.networking.k8s.io/v1beta1
Kind: HTTPRoute
...
Status:
Parents:
Conditions:
Last Transition Time: 2023-06-12T16:42:08Z
Message: DNS Name: checkoutroute-checkout-0d8e3f4604a069e36.7d67968.vpc-lattice-svcs.us-east-2.on.aws
Reason: ResolvedRefs
Status: True
Type: ResolvedRefs
...
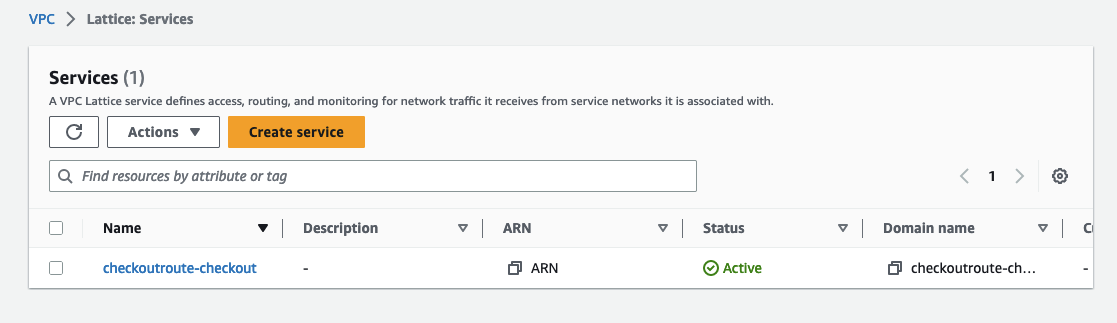
Now you can see the associated Service created in the VPC Lattice console under the Lattice resources.
Amazon VPC Lattice can now automatically redirect traffic to this service from any source, including different VPCs! You can also take full advantage of other VPC Lattice features.
Check weighted routing is working
In the real world, canary deployments are regularly used to release a feature to a subset of users. In this scenario, we are artifically routing 75% of traffic to the new version of the checkout service. Completing the checkout procedure multiple times with different objects in the cart should present the users with the 2 version of the application.
First lets use Kubernetes exec to check that the Lattice service URL works from the UI pod. We'll obtain this from an annotation on the HTTPRoute resource:
{"status":"ok","info":{},"error":{},"details":{}}Now we have to point the UI service to the VPC Lattice service endpoint by patching the ConfigMap for the UI component:
Let's ensure that the UI pods are restarted and then port-forward to the preview of your application with Cloud9.
Let us try to access our application using the browser. A LoadBalancer type service named ui-nlb is provisioned in the ui namespace from which the application's UI can be accessed.
k8s-ui-uinlb-647e781087-6717c5049aa96bd9.elb.us-west-2.amazonaws.com
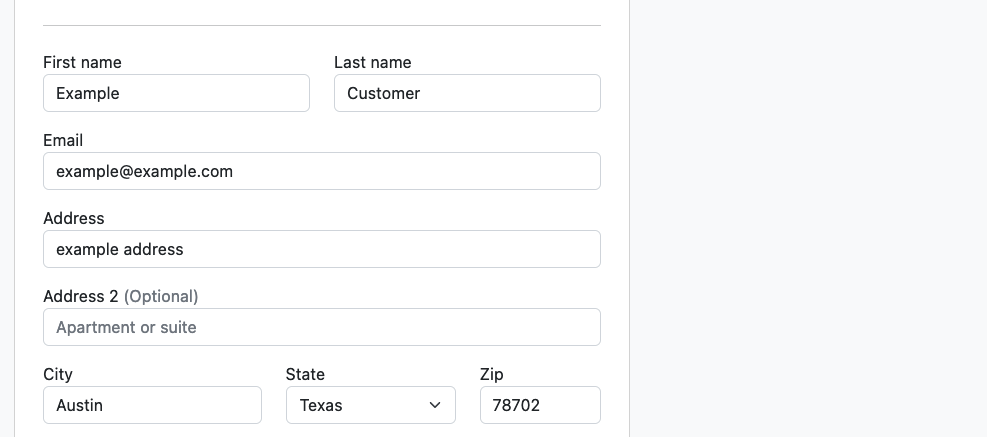
Access this in your browser and try to checkout multiple times (with different items in the cart):
You'll notice that the checkout now uses the "Lattice checkout" pods about 75% of the time: