Creating the load balancer
Let's create an additional Service that provisions a load balancer with the following kustomization:
apiVersion: v1
kind: Service
metadata:
  name: ui-nlb
  annotations:
    service.beta.kubernetes.io/aws-load-balancer-type: external
    service.beta.kubernetes.io/aws-load-balancer-scheme: internet-facing
    service.beta.kubernetes.io/aws-load-balancer-nlb-target-type: instance
  namespace: ui
spec:
  type: LoadBalancer
  ports:
    - port: 80
      targetPort: 8080
      name: http
  selector:
    app.kubernetes.io/name: ui
    app.kubernetes.io/instance: ui
    app.kubernetes.io/component: service
This Service will create a Network Load Balancer that listens on port 80 and forwards connections to the ui Pods on port 8080. An NLB is a layer 4 load balancer that on our case operates at the TCP layer.
Let's inspect the Service resources for the ui application again:
We see two separate resources, with the new ui-nlb entry being of type LoadBalancer. Most importantly note it has an "external IP" value, this the DNS entry that can be used to access our application from outside the Kubernetes cluster.
The NLB will take several minutes to provision and register its targets so take some time to inspect the load balancer resources the controller has created.
First, take a look at the load balancer itself:
[
{"LoadBalancerArn": "arn:aws:elasticloadbalancing:us-west-2:1234567890:loadbalancer/net/k8s-ui-uinlb-e1c1ebaeb4/28a0d1a388d43825",
"DNSName": "k8s-ui-uinlb-e1c1ebaeb4-28a0d1a388d43825.elb.us-west-2.amazonaws.com",
"CanonicalHostedZoneId": "Z18D5FSROUN65G",
"CreatedTime": "2022-11-17T04:47:30.516000+00:00",
"LoadBalancerName": "k8s-ui-uinlb-e1c1ebaeb4",
"Scheme": "internet-facing",
"VpcId": "vpc-00be6fc048a845469",
"State": {"Code": "active"
},
"Type": "network",
"AvailabilityZones": [
{"ZoneName": "us-west-2c",
"SubnetId": "subnet-0a2de0809b8ee4e39",
"LoadBalancerAddresses": []
},
{"ZoneName": "us-west-2a",
"SubnetId": "subnet-0ff71604f5b58b2ba",
"LoadBalancerAddresses": []
},
{"ZoneName": "us-west-2b",
"SubnetId": "subnet-0c584c4c6a831e273",
"LoadBalancerAddresses": []
}
],
"IpAddressType": "ipv4"
}
]
What does this tell us?
- The NLB is accessible over the public internet
- It uses the public subnets in our VPC
We can also inspect the targets in the target group that was created by the controller:
{"TargetHealthDescriptions": [
{ "Target": {"Id": "i-06a12e62c14e0c39a",
"Port": 31338
},
"HealthCheckPort": "31338",
"TargetHealth": {"State": "healthy"
}
},
{ "Target": {"Id": "i-088e21d0af0f2890c",
"Port": 31338
},
"HealthCheckPort": "31338",
"TargetHealth": {"State": "healthy"
}
},
{ "Target": {"Id": "i-0fe2202d18299816f",
"Port": 31338
},
"HealthCheckPort": "31338",
"TargetHealth": {"State": "healthy"
}
}
]
}
The output above shows that we have 3 targets registered to the load balancer using the EC2 instance IDs (i-) each on the same port. The reason for this is that by default the AWS Load Balancer Controller operates in "instance mode", which targets traffic to the worker nodes in the EKS cluster and allows kube-proxy to forward traffic to individual Pods.
You can also inspect the NLB in the console by clicking this link:
Get the URL from the Service resource:
k8s-ui-uinlb-a9797f0f61.elb.us-west-2.amazonaws.com
To wait until the load balancer has finished provisioning you can run this command:
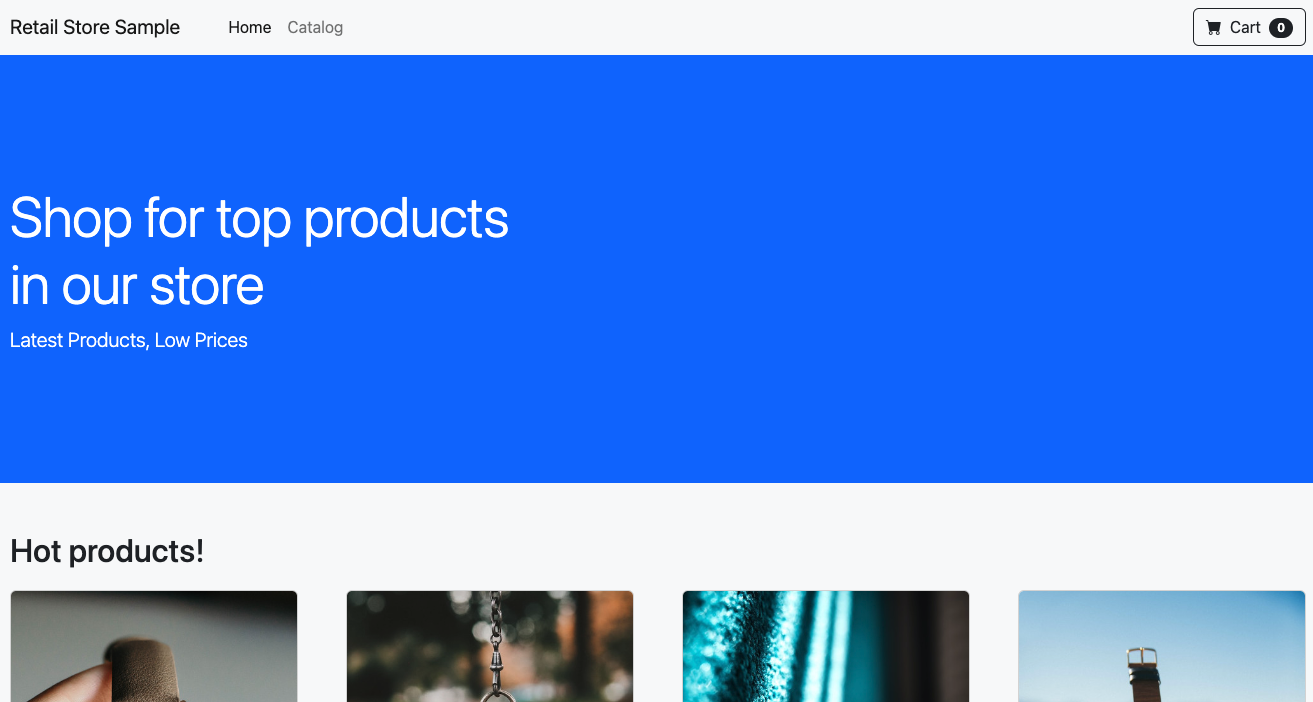
Now that our application is exposed to the outside world, lets try to access it by pasting that URL in your web browser. You will see the UI from the web store displayed and will be able to navigate around the site as a user.
